Setting Up a Validator on a Raspberry Pi 4
A precise engineering guide to deploying an Ethereum validator on ARM architecture to drastically reduce operational costs and preserve staking margins.

Cloud providers have aggressively increased instance pricing for staking infrastructure over the last two years. For a solo staker, the monthly bill for a decent t3.medium or c5.large instance often eats a significant chunk of the validator yield, turning a passive income stream into a break-even operation. In 2026, maximizing margin means minimizing overhead, and the only way to effectively slash overhead is to eliminate the recurring rental cost of centralized servers.
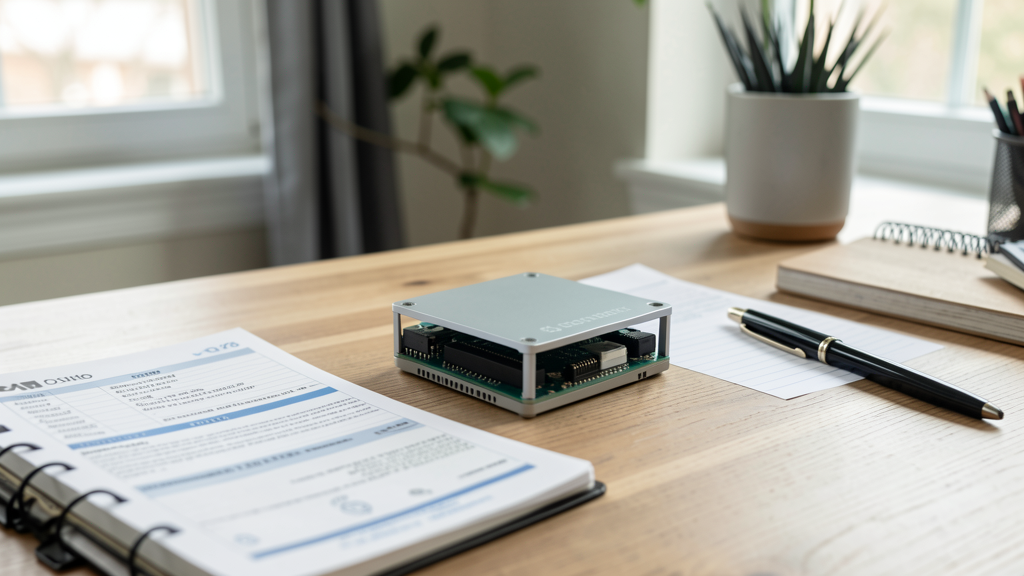
Running a validator on consumer electronics is no longer an experiment for hobbyists; it is an economic decision. The Raspberry Pi 4, specifically the 8GB model, offers a compelling ARM64 architecture that consumes roughly 5 to 7 watts under load. Compare this to a standard cloud server drawing constant power in a datacenter, and the math for home staking becomes obvious. The barrier to entry isn't coding skill anymore—it is precise hardware selection and client optimization. The Ethereum mainnet has grown too heavy for a microSD card, and the consensus layer demands efficient RAM management. You cannot simply "install" Ethereum and walk away. You must engineer the setup for the constraints of the hardware.
The Hardware Bill of Materials
Do not attempt this with a 4GB Raspberry Pi 4. The memory requirements for the Consensus Client (CC) and Execution Client (EC) running simultaneously will burst beyond 4GB during database compaction or cache warming. You need the 8GB model.
Furthermore, the microSD card is a single point of failure. In 2026, writing the Ethereum state to a flash card is a recipe for corruption within weeks. You require a high-speed NVMe SSD. Since the Pi 4 does not have a native M.2 slot, you must purchase a USB 3.0 to NVMe adapter. This combination mitigates the I/O bottleneck that traditionally plagues ARM-based nodes.
Your shopping list should look like this:
- Compute: Raspberry Pi 4 Model B (8GB RAM).
- Storage: 1TB or 2TB NVMe SSD (e.g., Samsung 970 EVO or WD Blue SN570).
- Interface: USB 3.1 Gen 2 Type-C NVMe Adapter (ensure UASP support).
- Power: Official USB-C Power Supply (5V, 3A).
- Cooling: Active cooling fan or heatsink case; thermal throttling will cause your node to fall out of sync, leading to missed attestations.
Preparing the Operating System for 64-bit Performance
Generic operating system images are often bloated with unnecessary services. We need a lightweight, 64-bit environment to maximize the limited CPU cycles. Ubuntu Server 24.04 LTS for ARM64 is the standard choice for stability, but you must strip it down.
Once you have flashed the OS onto your SSD (booting directly from USB is preferred, or use a boot-loader SD if your firmware requires it), update the kernel immediately.
sudo apt update && sudo apt upgrade -y
The default swap file size on Linux distributions is often insufficient for database operations on the Pi, or conversely, too large and slow on the SD card. If your OS lives on the SSD, resize the swap to 4GB. This provides the necessary buffer for the Execution Client during peak usage without crashing the system.
Next, increase the swapiness value temporarily to help with the initial sync, then lower it for production use to preserve the SSD's write endurance.
sudo sysctl vm.swappiness=10
Why Nethermind and Lighthouse on ARM?
Client diversity is not just a buzzword; it is the backbone of network security. However, on low-power hardware, client choice is also a performance decision. You want the most memory-efficient Consensus Client and the most I/O-optimized Execution Client.
For ARM64 architectures, Lighthouse (Sigma Prime) consistently outperforms other Consensus Clients in memory footprint. It is written in Rust and handles the lightweight requirements of the Beacon Chain efficiently.
For the Execution Layer, Nethermind is the superior choice here. While Geth is the standard, Nethermind's dotnet core implementation handles storage I/O exceptionally well, especially when paired with the fast sync mechanisms developed over the last few years. Erigon is another option, but its storage engine can be heavier on RAM during initial snaps. Nethermind strikes the right balance for the Pi's constrained resources.

Step 1: Mounting the NVMe Storage
Ensure your drive is formatted to ext4 for native Linux performance. Assume your drive is identified as /dev/sda.
sudo mkfs.ext4 /dev/sda1
Create a mount point and add it to your fstab so it persists after reboots. This is critical; if the node reboots and the drive mounts to a different location, your clients will create a new database from scratch and fill your drive instantly.
sudo mkdir -p /mnt/eth-node
sudo mount /dev/sda1 /mnt/eth-node
# Get the UUID
blkid /dev/sda1
Edit /etc/fstab and add the line:
UUID=YOUR_UUID /mnt/eth-node ext4 defaults,noatime 0 1
The noatime option is vital for SSD longevity as it prevents the system from writing metadata every time a file is read.
Step 2: Deploying the Clients via Docker Compose
Managing binaries manually on a Pi is tedious and makes updates error-prone. Docker is the standard for deployment, but ensure you are using a modern Docker Compose setup (v2+).
Create a directory structure: /mnt/eth-node/docker-compose.yml. We will run three services: the Execution Client, the Consensus Client, and the Validator Client.
Here is a simplified configuration structure for 2026 standards. Note the use of specific environment variables for JWT authentication, which is mandatory for the communication between the Execution and Consensus layers.
Execution Client (Nethermind): You must define the sync mode. In 2026, "Snap Sync" is the baseline. We also limit the cache to prevent the Pi from freezing.
  execution:
    image: nethermindeth/nethermind:1.25.0
    container_name: execution
    volumes:
      - ./execution-data:/nethermind/data
    ports:
      - "30303:30303/tcp"
      - "30303:30303/udp"
      - "8545:8545"
    command: >
      --config mainnet
      --sync SnapSync
      --datadir /nethermind/data
      --JsonRpc.Enabled true
      --JsonRpc.Host 0.0.0.0
      --JwtSecretFile /secrets/jwt.hex
Consensus Client (Lighthouse): Lighthouse requires access to the Execution Client's JWT token.
  consensus:
    image: sigp/lighthouse:v5.2.0
    container_name: consensus
    volumes:
      - ./consensus-data:/root/.lighthouse
      - ./secrets:/secrets:ro
    ports:
      - "9000:9000/tcp"
      - "9000:9000/udp"
    command: >
      lighthouse bn
      --network mainnet
      --execution-endpoint http://execution:8551
      --jwt-secrets=/secrets/jwt.hex
      --datadir /root/.lighthouse
      --http
      --checkpoint-sync-url https://sync.incentived-rpc.com/
Note: Using a Checkpoint Sync URL is mandatory in 2026. Attempting to sync from genesis on a Raspberry Pi would take months. We use a trusted remote checkpoint to jump immediately to the current chain head.
Step 3: Generating and Importing Validator Keys
You cannot stake without 32 ETH. If you are reading this, you likely already have the funds or are using a rocket pool deposit (which would require a different setup). For a pure solo validator, you need to generate the keystore files.
Do not generate keys on the Pi if you can avoid it; do it on an air-gapped machine. However, if you must use the Pi, install the staking-deposit-cli.
pip install staking-deposit-cli
deposit new-mnemonic --chain mainnet
This generates your keystore-m_*.json files. You must import these into the Validator Client container.
Create a validator-keys volume and map it to the Lighthouse validator container command:
  validator:
    image: sigp/lighthouse:v5.2.0
    container_name: validator
    volumes:
      - ./validator-data:/root/.lighthouse
      - ./validator-keys:/keys:ro
    command: >
      lighthouse vc
      --network mainnet
      --datadir /root/.lighthouse
      --beacon-nodes http://consensus:5052
      --validators-dir /keys
      --init-slashing-protection
Once the containers are up, check the logs. docker logs -f consensus. You are waiting for the node to reach "Synced". During this phase, the CPU will hover near 100%. This is normal for ARM architecture during verification.
Monitoring Margin and Power Consumption
The entire economic premise of this setup relies on power efficiency. A Raspberry Pi 4 running at full tilt with an external SSD consumes approximately 8 to 10 watts. In a region with average electricity costs (e.g., $0.15/kWh), this setup costs roughly $1.30 per month to run.
Compare this to the cloud. An AWS t3.medium instance (required to run Geth/Lighthouse somewhat comfortably) costs roughly $30-$40 per month, excluding data transfer fees. The home hardware pays for itself in electricity savings alone within three months.
However, you must account for the slashing risk. Unlike a cloud node, your home internet connection is the weak link. If your ISP drops connection for more than a few hours, you risk inactivity leaks. If you run a validator on two machines (a backup) to mitigate this, you double your hardware costs but slash your risk. This is where we see the real validator's barrier to entry shifting from capital to operational complexity.
Operational Security vs. Cloud Convenience
By moving to a Raspberry Pi, you have removed the monthly invoice, but you have introduced a single point of physical failure. You are now responsible for the physical security of the 32 ETH validator keys. If someone breaks into your house and steals the Pi with the unencrypted keystores, your funds are gone.
You must encrypt the drive. The LUKS (Linux Unified Key Setup) standard should be implemented on the NVMe drive. This adds a slight CPU overhead for encryption/decryption, but the Pi 4 handles AES-NI instructions reasonably well. The trade-off is worth the security.
Furthermore, running a node at home is a political act. It contributes to the decentralization of the network. As we have seen in previous analyses regarding Lido dominance, every non-custodial node adds censorship resistance. You are no longer a renter of infrastructure; you are a sovereign operator of the network.
The transition from cloud to home hardware requires a shift in mindset. You must monitor uptime, update the firmware manually, and physically secure the device. There is no customer support hotline to call if the power goes out. But when you see your first attestation included in a block, knowing that the hardware processing it sits in your living room running on pennies of electricity, you realize this is how Ethereum was meant to be secured. Just ensure you have a backup plan for the double-sign slashing event recovery, because hardware fails, and software has bugs. In staking, redundancy is the only insurance that matters.
Read next

Is Ethereum Too Centralized? Deconstructing the Lido Dominance Myth
A data-driven analysis revealing why staking pool concentration is less of a threat than perceived and how solo staking is evolving in 2026.

The 32 ETH Error: Surviving a Double-Sign Slashing Event
A technical dissection of a double-sign slashing incident on the Ethereum mainnet and the operational workflow used to isolate the fault and save the remaining validator cluster.